

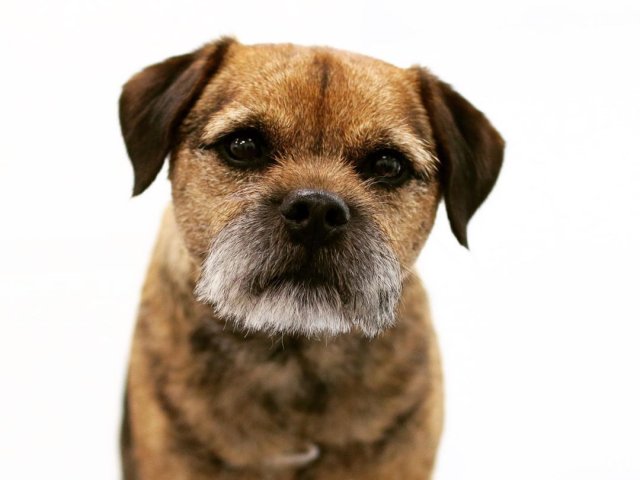
Grooming a West Highland White Terrier (Westie)
A West Highland White Terrier, or Westie, is a popular dog breed loved by many people. Westies are smart, confident, and courageous, with a double coat of coarse, thick, pure white fur. Grooming—including brushing and clipping nails—is an essential part of keeping a Westie happy and healthy.
In this tutorial, our expert groomer, with model Alfie, demonstrates how to properly maintain the hair on a Westie’s head. This not only prevents matting but also allows them to see better and enhances their iconic look.
Introducing Alfie
Alfie is a typical Westie, with an elongated nose, angular head, and a trim that needs tidying up. In this session, we’ll give him a regular pet trim with a touch of spray to add extra texture to his coat.
Step 1: Trimming the Ears
- Attach a number 10 clipper and trim the tips of the ears (top third only).
- Use scissors to refine the clipped section for a natural look.
- Brush out the fur around the head with a wide-toothed comb. Pull the hair outward and trim around the ears so that the surrounding fur curves around the face. Leave about an inch of fur at the ear base for a rounded look.
- Fold the ear in half and use texturising scissors to remove excess hair that sticks out. If too much hair remains, repeat the clipping a little lower.
Step 2: Shaping the Fringe
Westies traditionally have hair that fans over the eyes for protection while digging. For pets, this can be trimmed for better visibility:
- Use texturising scissors to softly blend and clear excess hair around the eyes.
- Comb the fringe forward again to check balance.
- For dogs with short noses, trim the fringe halfway down the nose. For Alfie, whose nose is longer, we trim slightly shorter.
- Leave enough length to frame the eyes, but ensure their eyes are clearly visible.
Step 3: Trimming the Sides of the Head
- Turn the head sideways and comb the hair flat.
- Trim in a semi-circle, starting at the jawline, curving down in line with the eyes, then curving back up to meet the fur around the ears.
- Comb the fur down and out to spot and trim stray hairs.
- Comb backward and forward, trimming any missed hairs.
- Neaten the chin area for a tidy finish.
Step 4: Fluffing and Final Shaping
- Fluff up the fur by combing outwards and upwards, trimming stray sections to create a rounded head shape.
- If needed, lightly shape the top of the head. (Since Alfie’s hair is short, we leave it as is.)
Step 5: Adding Texture and Hold
- Apply chalk (a chalk block works best) in circular motions to thicken the coat and prevent matting.
- Fluff the fur upward with a comb.
- Use a strong-hold spray to set the shape:
- Spray a line at the back of the head, then comb upwards.
- Work section by section to build volume.
- Keep the dog calm with reassurance, as the spray sound may startle them.
- Remember: both chalk and spray naturally fall out within a few hours, so there is no risk for your Westie.
Step 6: Perfecting the Circle Shape
- Trim with texturising scissors to mould the fur into a circle from every angle.
- Shape the circle up in front of the ears. Encourage the dog to raise its ears naturally for a better result.
- Comb the hair forward and apply a final light spray.
The Finished Look
And there we have it—a beautifully textured Westie head! Huge thanks to Alfie for being such a fantastic model.
About Dogs Delight
At Dogs Delight, we have years of experience grooming Westies. Our team of highly qualified groomers are true dog lovers, so your pet will always be treated like family.
📌 Visit our dog grooming website to see our full range of services.
📌 For more grooming tutorials, check out our YouTube channel.